
The open road is calling you, big time. You’ve got your mind’s eye set on a small RV to be your new mobile home, but there’s a nagging question in the back of your mind – ‘where will I bathe, toilet?’ Well, if you want convenience, you can’t beat having a bathroom inside your wagon. If it’s a small Class B RV, it must be a wet bath.
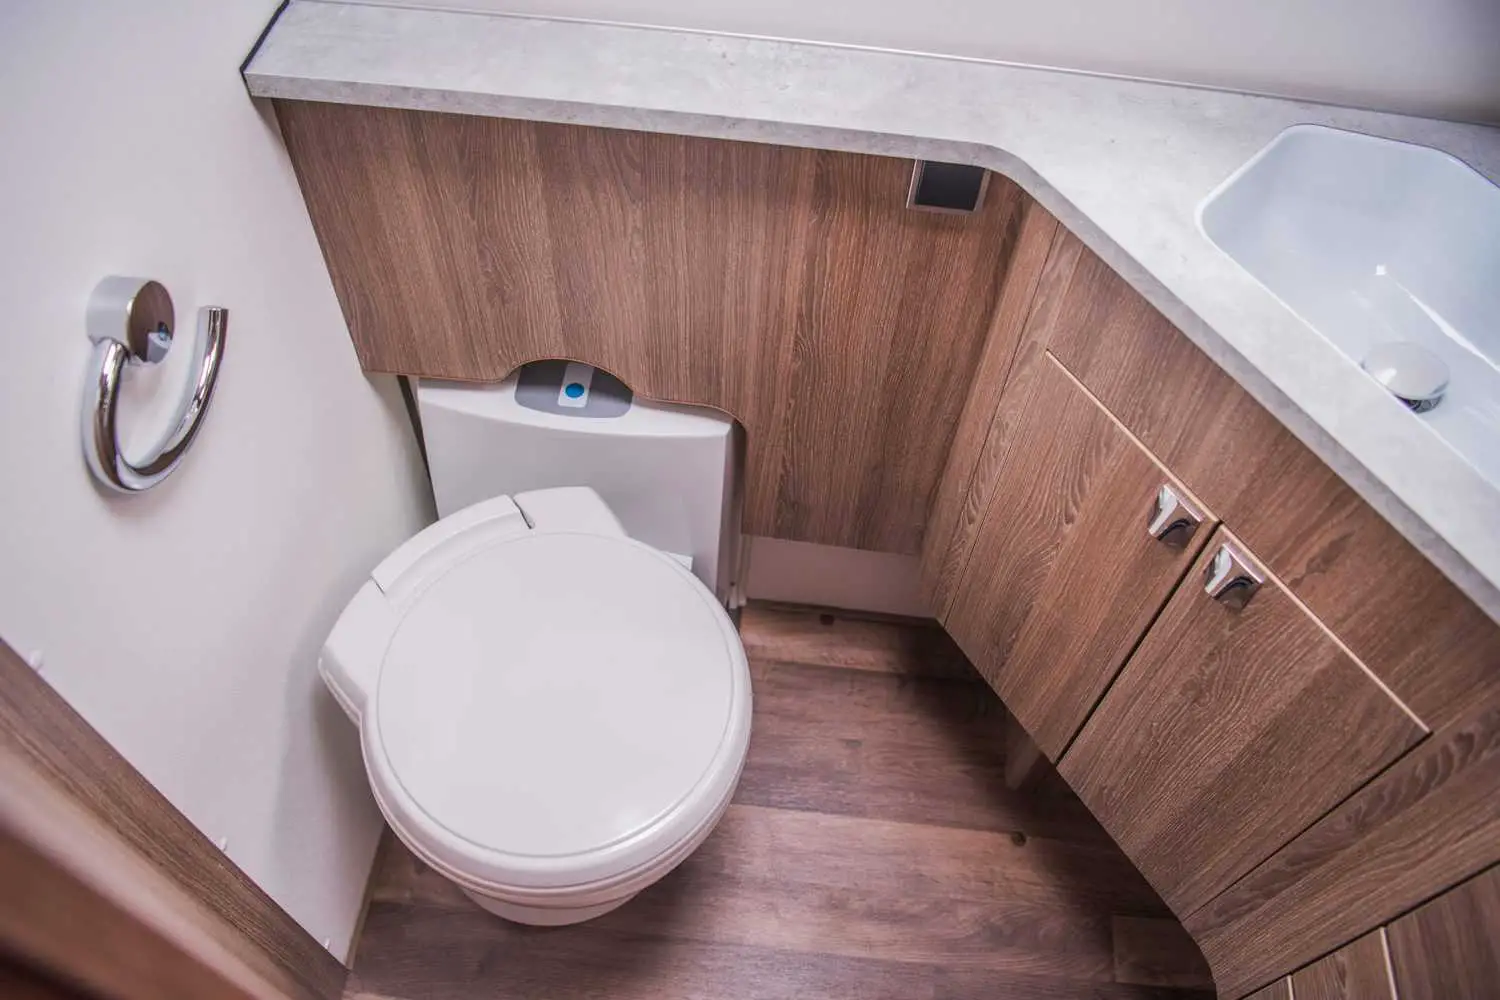
An RV wet bath is a small shower stall that incorporates a toilet and basin. Typical RV wet bath features include:
- Hot & cold running water
- Waterproof walls, floor, & door
- Extendable handheld shower head
- One-piece floor pan & drain plug
- Toilet
- Basin
- Soap tray
- Ceiling vent fan
- Lockable door
For people unfamiliar with RV life, the idea of taking a shower inside a small vehicle with a toilet at your feet may sound crazy, not to mention cramped. An RV wet bath is an absolute necessity for RV owners with personal comfort and convenience as top priorities. Let’s demystify this small, often-maligned mobile amenity and uncover the best ways to enjoy an RV wet bath.
Take a look at our article on: 5 Great Pop Up Campers With Bathrooms Floor Plans
How Does An RV Wet Bath Work?
RV wet baths draw hot and cold water from the vehicle’s freshwater system. The shower and basin wastewater drains into the RV’s grey water tank. Wet bath toilets are plumbed into the RV’s freshwater system and black water tank. Alternatively, cassette and composting toilets are used in wet baths.
Floor space in an RV is limited, but smart camper designs include all the essential amenities in a typical suburban home, including a bedroom, kitchen, lounge, and bathroom.
The ergonomic characteristics of each RV amenity depend largely on the overall size of the vehicle, particularly its length.
RV wet baths where the shower and toilet share the same drainable floor area are generally used in small Class B RVs, travel trailers, and camper vans with an average length of around 23-feet.
- The average RV wet bath will have a floor area of around six square feet (you won’t be doing star-jumps in there) and a ceiling height of at least six feet.
For the uninitiated traveler accustomed to domestic bathrooms, an RV wet bath will feel cramped, but for veteran RVers, not having to use communal or public ablution facilities offsets the physical constraints of a wet bath by a hefty margin.
The plumbing in a wet bath is almost the same as that found in a large Class A RV. Fresh cold water is pumped from an onboard holding tank directly to the wet bath cold-water faucet, while hot water is piped from the RV’s hot-water heater to the hot-water faucet in the wet bath.
- The only significant difference (in plumbing terms) between a full RV bathroom and an RV wet bath is that the shower drain outlet is located in the same floor space as the toilet and basin.
The wet bath showerhead, invariably handheld with a flexible hose, will have its hot-cold settings controlled by the faucets mounted on the wet bath wall.
The water from the shower falls directly onto the wet bath floor, a purpose-built shower tray with a drain plug.
Yes – the toilet will get wet, but not so much if you take a seat while you shower.
Factory-built RVs with a wet bath will have a toilet plumbed into the vehicle’s freshwater system to flush the toilet bowl. Wastewater from the toilet passes into a black water tank fitted to the chassis of the RV.
Custom-made wet baths are growing in popularity amongst the camper van/#vanlife community. Many DIY wet bath projects include portable toilets, cassette-type camping toilets, and composting toilets of various types.
Most RV wet baths have a small basin mounted either in a permanent position or a foldable type that flips up to sit flush in the wet bath wall (creating a few inches of extra space). The basin has a drain pipe connected to the RV grey water tank.
- Premium RV wet baths will have a waterproof lockable door, while DIY and budget wet baths may use a shower curtain to prevent water from splashing into the vehicle’s living area.
- Space-saving pleated RV shower doors are popular designs for custom RV wet bath DIY projects.
RV wet baths are equipped with an electric light and a roof vent with an extractor fan to remove moisture and prevent mold from forming.
Tips To Make A Wet Bath Comfortable?
With its limited proportions, some creative interior design needs to come into effect to make the wet bath as comfortable, ergonomic, and inviting as possible. Areas of attention include water drainage, drying, cleaning, heating, underfoot matting, and the installation of shower accessories.
As small as it is, a wet bath is easy to clean and outfit with the necessary bathing accessories. Particular care needs to be taken to keep the wet bath hygienic. In a word, discipline needs to be observed, especially when the wet bath is being shared.
Water drainage: Install a rubber hair catcher in the floor drain plug to prevent hair from clogging the grey water tank. Clean the catcher after every shower.
Water usage: RV water supply is limited when boondocking or on the road. Use the shower and basin water sparingly. Equip the shower with a low-flow showerhead to save water.
- When setting the water temperature for the shower, run the water into the basin until it reaches the correct temperature. Save water and cut mopping time simultaneously!
Drying the wet bath: To mop up water on the wet bath floor and clean the walls, kit your RV with a squeegee. Use aquick-drying microfiber towel to complete the drying task.
Cleaning the wet bath: Keep the wet bath sanitized and free of mold and mildew with a bio-friendly multipurpose cleaner and a sponge. Keep the RV flush toilet clean and fresh with an eco-safe toilet bowl cleaner.
Heating: To assist in the wet bath drying task and make showering in cold weather more comfortable, place a small fan heater opposite the wet bath door with the wet bath door open after a shower (water is off).
Underfoot matting: Keep your feet off the wet shower pan with a raised bamboo shower mat.
Shower accessories: Position your soaps and shampoos where they’re most ergonomically accessible with a suction shower shelf. Attach a mesh caddy bag to the ceiling of the wet bath to conveniently store quick-drying towels.
- Remember – Run the wet bath ceiling vent fan when using the shower, basin, and toilet to remove moisture and odors from the RV.
Conclusion
Now that you know what a wet bath is, I’m sure you’ll agree – there’s no denying the value of having a bathroom inside your RV. Ask any camper or road tripper – public showers and toilets are invariably a nightmare. With these practical tips, you’ll soon get used to your RV wet bath and revel in the safety, convenience, and privacy of your mobile bathroom.
Good luck, and happy camping!
Check out our article on: Cleaning Your Rubber RV Roof (9 Tips)