
When you’ve invested in an RV, you want to perform routine maintenance so you can keep it on the road as long as possible. Replacing the tires, inspecting the appliances, flushing the tanks–all these are standard. But are you paying enough attention to the RV roof? Our guide will provide you with the information you need on cleaning a rubber RV roof safely and efficiently.
Why You Need To Pay Attention To The RV Roof
The reasoning is simple: time equals oxidization.
If the roof is allowed to deteriorate, water will begin to seep through the ceiling and down the walls. As if that weren’t enough of a deterrent, the moisture will cause damage to any electrical components it encounters, which is a costly and dangerous prospect.
Your health and safety factor into the equation as well. Mold thrives in humid, moist environments, and its presence can cause respiratory issues. It also creates a foul odor that may linger for a while even after you’ve managed to resolve the issue.
Finally, cleaning the roof regularly will help you to protect your investment. The value of the RV will depreciate if it’s allowed to deteriorate in this way. Most RV insurance plans don’t cover water damage, so it’s in your best interest to prevent it.
9 Tips On Cleaning A Rubber RV Roof
1. Be Safe
You’ll be climbing up on the RV roof in order to clean it, so make sure to follow the correct safety protocol. It’s dangerous enough to walk around on the roof, but it will be slippery thanks to the cleaning products, so you’re taking an extra risk.
Wear rubber-soled shoes with a good tread, and make sure the ladder is secure against the rig before you climb it. It’s a good idea to have a spotter hold the ladder, just in case. Have them hand you the bucket and other cleaning supplies once you’re up there, or hoist them up using a rope pulley.
Try to avoid walking across the surface once it’s gotten wet. This is another reason why we recommend cleaning the roof in divided segments, as we’ll discuss later on.
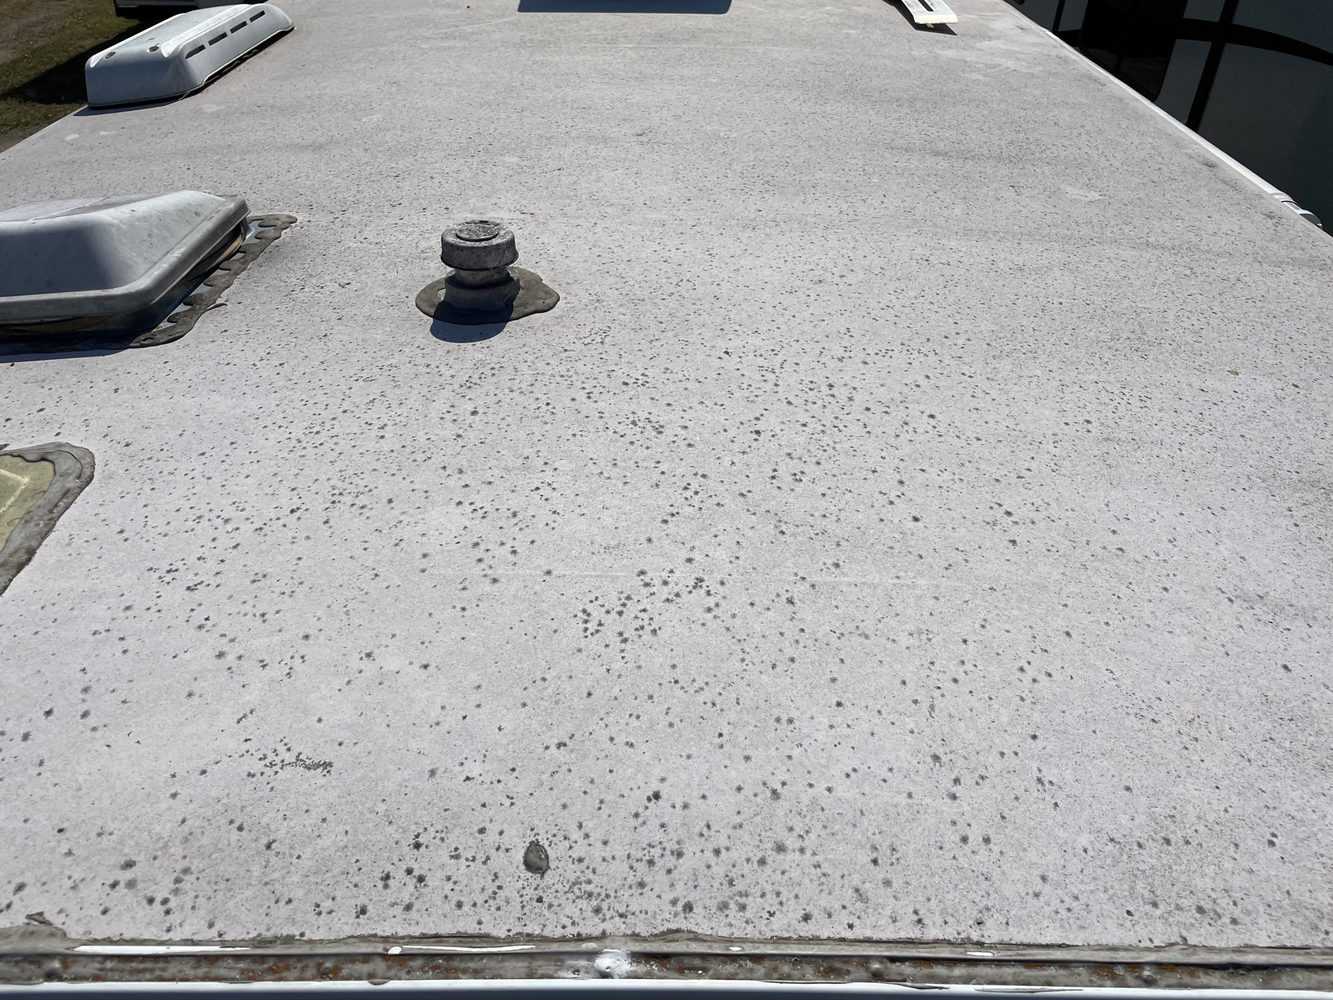
2. Check It Out
Sweep the roof to remove any twigs, leaves, or other debris. Once it’s clear, inspect the seams and caulking to see if you need to make any repairs before you proceed.
You can also check for mold or mildew at this point. It’s best to seek out any potentially problematic areas so you can give them extra attention right from the start.
3. Hose It Down
Your hose is your best friend when it comes to cleaning RV roofs. Use it to rinse off any loose dirt or stubborn debris before you begin. If the roof is particularly dirty, use tarps or sheets of plastic to cover the sides of the rig before you begin. Otherwise, the dirt and grime might stain them.
4. Choose The Right Brush
You’ll need a long-handled brush for this task. There are sponge mops with 5- to 12-foot handles that are designed to handle these projects. The extra length allows you to scrub from the ladder, so you don’t have to risk slipping on the wet roof.
A medium-bristle brush is a great tool for basic cleaning. However, you should also have a soft-bristle brush on hand to remove the worst stains.
5. Use An Approved Cleaner
Check the labeling carefully when searching for cleaning products. Petroleum will cause the latex to swell or become loose, which could void your RV’s warranty. Avoid any product that includes this ingredient. Acid-based and abrasive products should be crossed off the list as well, since they’re likely to strip the rubber.
Your owner’s manual should provide a few suggestions on which cleaners to use. If not, check the manufacturer’s website. You can also use a mild laundry detergent as long as it doesn’t include any of the forbidden ingredients. Make sure to dilute it with water before you apply it to any part of the RV.
If you notice sap residue clinging to the material, use mineral spirits applied to a soft-bristle brush, and scrub gently until the stain disappears. Any mold or mildew should be treated with either bleach or vinegar (but not both at once), diluted with water.
6. Clean The RV Roof In Sections
For best results, start at the front of the rig and work your way back. This will make it easier for you to descend the latter without coming into contact with the wet surface.
We would recommend applying the cleaning solution in segments measuring about 3 by 3 feet. Use the medium-bristled brush to clean the surface in a circular motion. Don’t apply too much pressure, or you may damage the rubber. As you work, rinse the brush regularly in a bucket of warm water.
7. Rinse And Repeat
Speaking if rinsing, you’ll want to do it at least twice once you’re finished scrubbing. Otherwise, you run the risk of residue building up on the sides of the RV roof, not to mention staining the walls.
While rinsing, take extra care not to slip. Also, try not to trip over any vents or AC units as you make your way back to the ladder. Take note of their locations before you begin your descent, and step around them carefully.
8. Don’t Neglect The Sidewalls
Even if you’ve taken steps to protect the sidewalls, rinse them thoroughly once you’ve finished with the RV roof. Some of the dirty water will drip down no matter how careful you are, and you don’t want the residue to build up on the exterior.
9. Make It A Seasonal Occurrence
We would suggest repeating the cleaning process at least 4 times a year. If you can remember to do it around the turn of the season, the calendar can serve as a useful guide.
If you live in a polluted area, or if you regularly park your rig beneath trees or other shaded areas, you might want to clean it more often. The job will be easier if you don’t allow the dirt and grime to build up on a regular basis, so it’s in your best interest to do it as often as necessary.
Types Of Rubber Used For RV Roofs
You should be familiar with the type of rubber your roofing is made of. If it’s not made of quality material, it could crack or tear even when you clean it regularly. This will almost certainly lead to water damage, which is exactly what you’re trying to avoid.
Ethylene propylene diene monomer (EPDM) is a sturdy and reliable material that’s used by many RV manufacturers. You might also see it labeled as “synthetic rubber.” It’s affordable, durable, and highly resistant to both water and UV light.
One alternative to EPDM is thermoplastic olefin (TPO), which is becoming increasingly common. It has sunlight-deflecting capabilities, which keeps roofs from absorbing too much heat. This keeps the interior of the camper from overheating, thereby taking the strain off your AC unit and saving energy. TPO is also mold-resistant and strong enough to resist tearing, although you’ll still want to keep up with regular maintenance.
Other Things To Remember When Cleaning a Rubber RV Roof
After you’ve finished cleaning, you should treat the roofing with an EDPM and/or TPO protectant. This will give you increased UV protection and reduce the risk of oxidization. Most also have chemicals that will cut back on the amount of dirt and sap residue that build up on the surface.
These protectants can be found at any store that stocks RV supplies. Make sure they’re free of the corrosive chemicals we discussed earlier. Apply the treatment as soon as possible, making sure to cover the entire area. It will need at least 24 hours to dry.
From beginning to end, the cleaning process should take no longer than 2 hours. Depending on the size of the camper, you might be done even sooner. The time investment is well worth the hassle you’ll be saving yourself from down the road.
Helpful Products
Dicor Products Rubber Roof Cleaner
This cleaner is easy to apply and won’t get the RV roof as slippery as some products. You might need to apply a bit of elbow grease, but it’s a reliable product that does an admirable job at removing stubborn grime and dirt.
EVERSPROUT Scrub Brush
The EVERSPROUT scrub brush has a 20-foot reach, meaning you may be able to skip the ladder entirely when you use it. It can do double duty as a deck or patio scrubber as well. You can even use it to scrub the walls of your house. EVERSPROUT offers a 1-year warranty on this product.
303 Marine UV Protectant
This is a marine-grade sealant that can be used for UV protection on anything from your RV roof to your car tires. You’ll need to wipe it dry after applying it, but the results are worth the extra step.
Dicor Self-Leveling Lap Sealant
I have used this popular self-leveling lap sealant and have been extremely impressed how well it seals cracks in our rubber RV roof. Just clean area and apply a think layer of sealant and let it settle.
In Conclusion
If you’ve chosen a rig with rubber roofing, you’re already one step ahead of the game. Cleaning a rubber RV roof regularly with the appropriate materials will increase the lifespan of your camper and save you from numerous damage-related hazards.
Best of luck, and happy camping!
Check out our article on: How To Clean Pop up Camper Canvas