
RVs, travel trailers and campers leak underneath because of a breach in the vehicle’s water system. Cracked RV water tanks, perished valve seals, holes in hoses, and aged faucet seals are generally the result of high water pressure, freezing weather, lack of maintenance, or wear and tear.
Discovering a water leak underneath your camper or RV may not happen often, but when it does, your leisure time is about to bolt. Without water system integrity, a camper isn’t worth the rubber it roles on, especially if you’re boondocking and reliant solely on the water you’ve got stored in your vehicle. To help mitigate the damage caused by an RV underbelly water leak, we’ve put together a water-wise diagnostic and repair guide just for you.
We’ll look at:
- What comprises an RV water system.
- Where leaks commonly occur.
- How to find the leaks.
- What tools you’ll need to fix water leaks.
Plumbing tasks aren’t everyone’s idea of DIY fun, but a water leak in the bowels of your RV has to be fixed as soon as possible. Knowing how to detect and repair the leak yourself will help prevent your trip from ending unexpectedly because you have to take your RV to the repair shop.
Having the right knowledge, tools, and plumbing materials to fix the leak will also save you money. Here’s how to BE PREPARED.
If you enjoy this article, check out our article on: RV Water Pump Keeps Running (How To Troubleshoot And Fix)
What Components Are In A Camper Water System?
An RV or camper water system is much like that found in a suburban home, with a few minor differences. Essentially, freshwater is fed into the vehicle via two inlets:
- A direct pressurized city water inlet that feeds the various amenities in the RV.
- A fresh-water holding tank located in the basement (under the floorboards) of the camper.
- The city water line in an RV operates the same way it does in a residential home, feeding faucets, water heaters, toilets, showers, and tubs.
- Fresh-water holding tanks in RVs use a water pump to pressurize the water hoses that feed the abovementioned amenities.
Let’s track the flow of water through a typical RV’s ‘dual-entry’ water system to understand better where leaks may occur:
- City Water > Direct to amenities > Water Heater > Kitchen Faucets > Shower Faucets > Toilet > Grey Water Tank for Kitchen and Shower Water > Black Water Tank for Toilet Water > Flush/Drain Grey and Black Water Tanks to external Dump Station.
- Fresh-Water Holding Tank > Water Pump > Water Filter > Water Heater > Kitchen Faucets > Shower Faucets > Toilet > Grey Water Tank for Kitchen and Shower Water > Black Water Tank for Toilet Water > Flush/Drain Grey and Black Water Tanks to external Dump Station.
A leak may occur anywhere along the line of both pathways. Apart from losing valuable water, a leak in the water system will eventually cause wood rot in the RV, resulting in costly repairs and devaluation of the vehicle.
The components of the RV water system that may leak include:
- The fresh-water tank may be cracked.
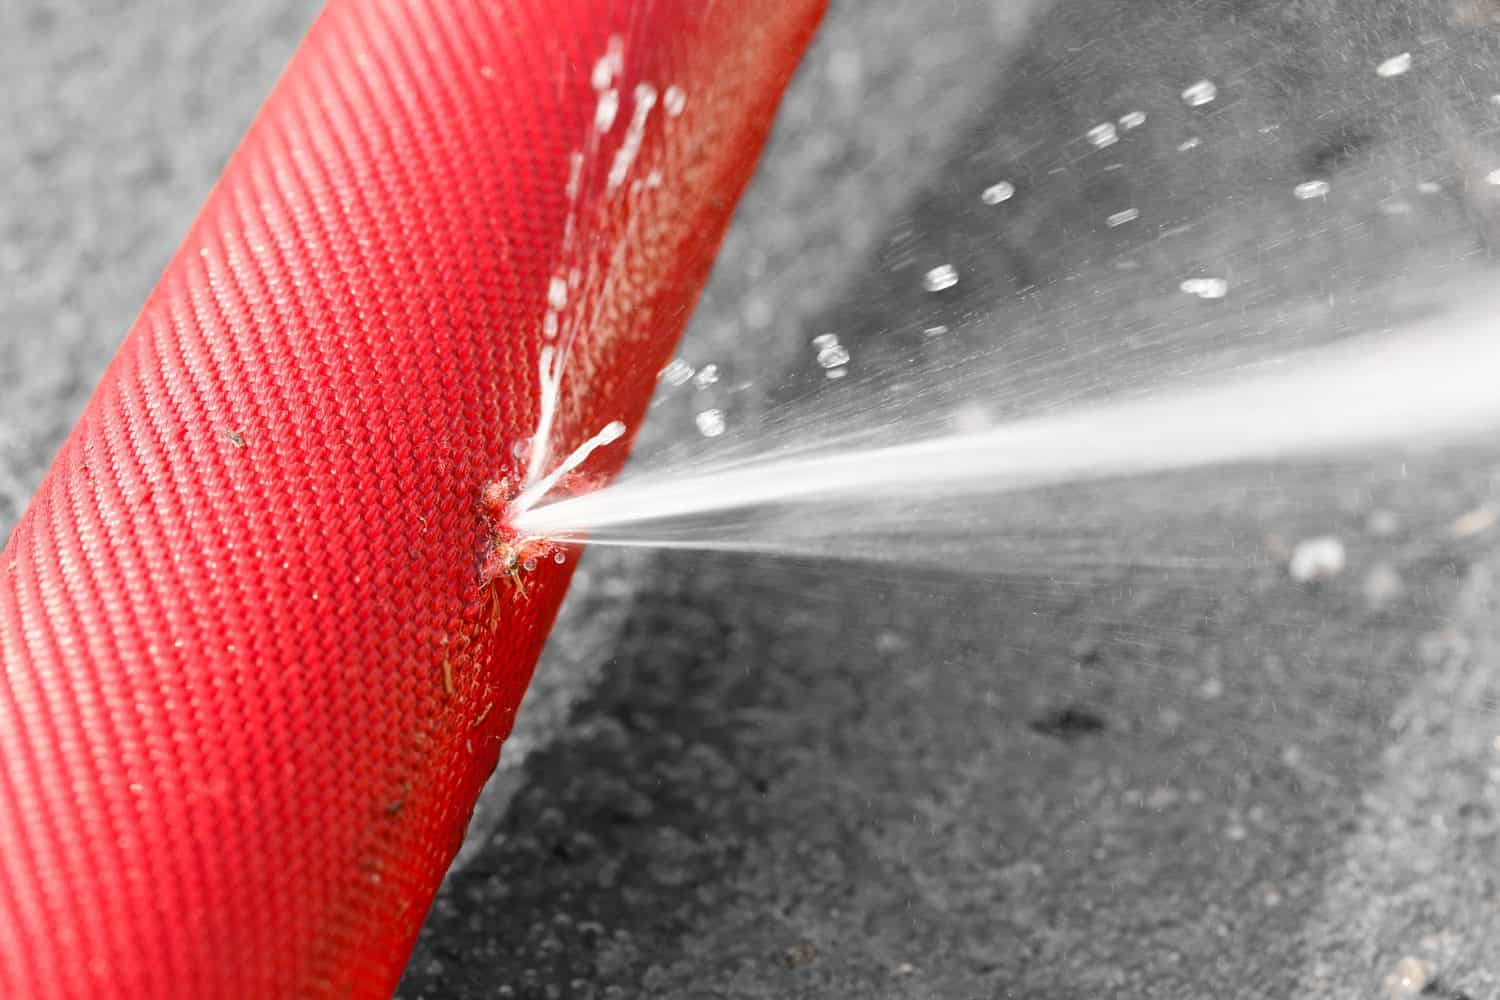
- A hose may have a hole or tear in it.
- A valve seal on the water pump may have failed.
- A seal on the water filter may have failed.
- A valve seal on the water heater may have failed
- A washer on the kitchen faucet may have perished.
- A washer in the bathroom basin may have perished.
- The shower tray may be cracked.
- The grey water tank may be cracked.
- The black tank may be cracked.
- Overfilling the holding fresh-water tank can also cause leaks underneath the camper or RV, as can failing to empty the grey and black water tanks before they overflow.
All the above flow-critical components can fail at any time, turning your beauty into a beast. Here’s how to handle the monster’s underbelly.
How to Locate the Leak Underneath Your Camper
Most campers and RVs are designed with the bulk of the water system located between the vehicle’s floor, and often, a wooden sub-floor bolted to the RV chassis.
A rubberized protective sheet called the underbelly is attached to the camper frame beneath the sub-floor and water system components.
More often than not, leaks underneath your camper will express from the underbelly, which is when you’ve got to go full rogue plumber on your beauty-turned-beast.
- Have your RV Owner’s Manual handy for a schematic of its water system.
Follow these steps to detect the leak:
- Start with a pressure test. Drain the water from the system and close all the faucets. Empty the toilet.
- Attach an air compressor (with a pressure gauge) to the city water inlet valve with a suitable coupling. Inject air into the system at 80-100PSI.
- Wait for ten minutes. If the pressure has dropped, you’ve got a leak.
- Listen for hissing sounds!
- The leak may be inside the RV, so follow the hiss – start your leak detection procedure inside the camper.
- Warning: You probably will have to lift lids and remove covers and open panels to find that breach (but before resorting to those measures, check the underbelly first).
If the cursory search inside the camper proves fruitless, it’s time to go outside and get horizontal.
Via the RV’s underbelly:
- Unscrew the rubber underbelly from the camper frame and remove it away from the vehicle.
- Discard water-clogged insulation material.
- Using a flashlight, examine each component and hose for signs of water leakage from the fresh, grey, and black water holding tanks. There may be a big leak, which will make your detection task easier.
- Once again, pressurize the system (attach the compressor to the water pump inlet valve).
- Listen for a hissing sound and look for a misty spray of water.
- If no hiss is heard or leaks are detected, fill the system with water and allow water pressure to expose the leak.
- Fix the leak with appropriate parts and products.
- Fit new insulation to the underbelly.
- Refit the underbelly.
- Return water to the RV and test the city water system and the freshwater tank system.
Following the interior and underbelly inspections, the chances of you not finding the leak are slim. Perseverance pays, as does having a DIY plumbers toolbox for your camper.
Prepare for a Leak with Plumbing Gear and Spare Parts:
- Spare valves for the water pump and water heater.
- Spare hoses
- Spare hose connectors
- Hose clamps
- Faucet washers
- Plumber’s tape
- Waterproof sealant
- Water pump pliers
- Screwdrivers
- Utility knife
- An air pressure test kit. Watch this video for a DIY solution using your RV’s compressor and components available online and from hardware stores.
It’s always wise to check your RV water system for leaks before you hit the road. And, to be sure, check your RV’s refrigerator drain hose to make sure it’s hanging true and not spoiling the woodwork!
Good luck, and happy camping!
Check out our article on: RV Water Pump Keeps Running (How To Troubleshoot And Fix)