
Ever come back from a trip only to find your beloved mobile home looking a little bit worse for wear? One issue that many camper owners face is bubbling on the siding. But what does it mean, and how can you address it? Let’s find out.
Understanding Bubbling on Camper Siding
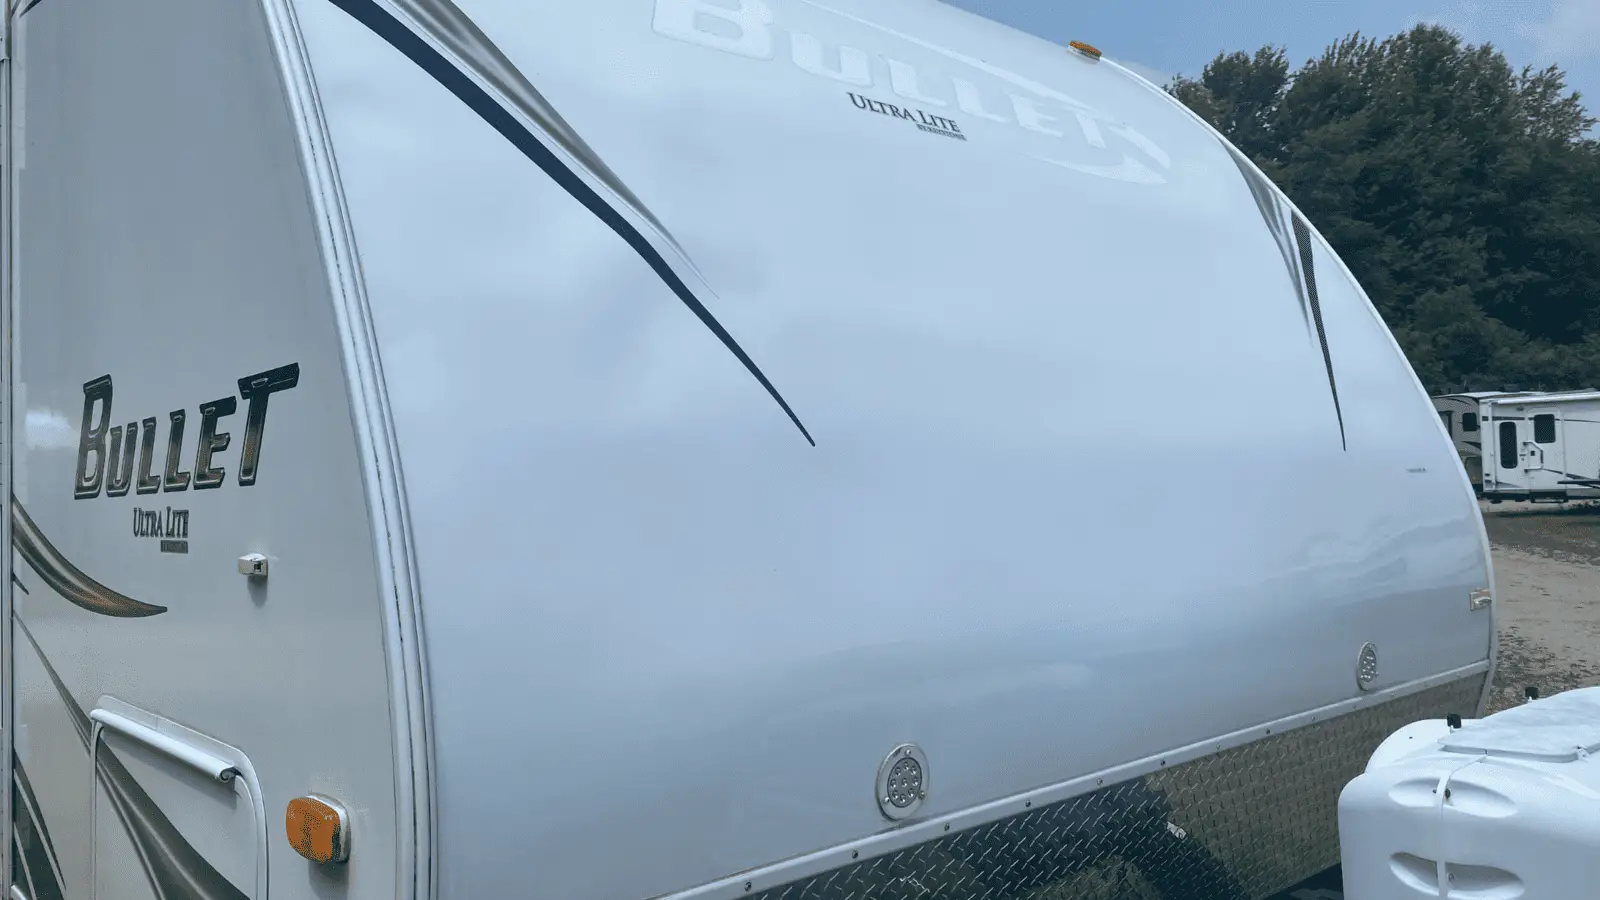
Before we dive into the why, it’s important to understand what we’re dealing with here. Bubbling on camper siding is a common issue where small to large sized bubbles or blisters appear on the surface of your camper’s exterior wall.
These bubbles can be a real eyesore, but more importantly, they could be a sign of underlying problems.
What Causes Bubbling?
So, you might be wondering, “why is my camper siding bubbling?” There are a few common reasons:
- Water Damage: The number one cause of bubbles on camper siding is water infiltration. This can occur due to faulty seals or prolonged exposure to the elements. When water gets behind the siding, it can cause the substrate to swell and create a bubble.
- Heat Damage: Prolonged exposure to intense heat and sunlight can cause bubbling. The heat can warp the siding material, leading to the formation of bubbles.
- Poor Installation: If the siding wasn’t installed properly, air or moisture could get trapped, causing bubbles. This is usually the case if the problem occurs shortly after new siding has been installed.
- Low-quality Material: Using low-quality materials for your camper’s siding can lead to bubbles. These materials may not withstand the elements and can degrade over time, causing bubbling.
How to Prevent and Fix Bubbling on Camper Siding
The good news is, bubbling doesn’t mean the end of the road for your camper. Here are some steps you can take to prevent and fix this issue:
- Regular Inspections: Regularly inspect your camper for any signs of wear and tear. Keep an eye out for cracks in the seals, loose siding, or any other signs of potential water damage. If you notice anything unusual, it’s best to take action immediately.
- Use High-Quality Materials: If you’re installing new siding, make sure you’re using high-quality materials that are designed to withstand the elements.
- Repair or Replace Damaged Siding: If you already have bubbles, the best course of action is to repair or replace the affected siding. This can be a DIY job if you’re handy, or you can hire a professional.
- Avoid Prolonged Exposure to Heat: If possible, park your camper in a shaded area to avoid exposure to intense heat and sunlight.
- Professional Help: If you’re not sure what’s causing the bubbling, or how to fix it, don’t hesitate to get professional help.
Detailed Steps to Repair Bubbling Camper Siding
Repairing your camper siding may seem like a daunting task, but it is achievable with some guidance and the right tools. Below, we break down the steps you’ll need to take if you decide to tackle this DIY project.
Step 1: Assess the Damage
Assessing the damage is your first and foremost step. Begin by visually inspecting the bubbling. Does it look like a small defect, or is it spread across a large area?
Next, use your hand to gently press on the bubbled area. If the bubble gives way easily, feeling soft to the touch, it may be a symptom of a severe underlying problem, such as water damage beneath the siding.
For minor issues, you might be able to rectify the problem yourself. However, if you suspect a larger issue, it’s advisable to seek the expertise of a professional to avoid causing further harm or deterioration to the camper’s structure.
Step 2: Gather Your Tools
In order to start the repair, ensure you have all the necessary equipment available. These tools include a utility knife for cutting away the damaged area, safety glasses to protect your eyes from any dust or debris, gloves to protect your hands, a siding removal tool, and replacement siding if the damage is beyond repair.
In addition, a sealant and a sealant gun are also required to secure the new piece of siding and ensure a watertight finish.
Step 3: Cut Away the Damaged Area
After you’ve donned your safety glasses and gloves, begin by using your utility knife to carefully cut around the bubble. Aim to keep your cuts as clean and straight as possible; this will make it easier to fit the replacement piece snugly and to make the repair less noticeable.
Step 4: Check for Water Damage
Once the bubble is excised, you must check for any signs of water damage underneath. This could be in the form of wet insulation or damp wood. If these materials are soaked, they will need to be replaced to prevent further damage, such as mold growth or structural weakening.
Step 5: Replace the Damaged Area
If the area has been heavily damaged and removing the bubble wasn’t enough, you might need to install new siding. Cut a piece of replacement siding to fit the cut-out area precisely, ensuring it matches the surrounding siding. This new piece should slot in snugly to provide a seamless finish.
Step 6: Seal the Edges
After the new piece of siding is in place, the next step involves sealing the edges. Utilize your sealant and sealant gun to carefully apply a generous bead around the periphery of the new siding.
This will ensure a watertight seal and prevent future water damage by stopping moisture from penetrating the camper’s interior.
Step 7: Regular Inspections
Once the repair work is complete, it’s crucial to continue regular inspections of not only the repaired area but the entire camper.
Look out for further bubbling, cracks, or other signs of damage. Early detection and swift action can prevent minor issues from escalating into major problems, potentially saving you time, money, and ensuring your camper remains a safe and comfortable living space.
Don’t Sweat the Bubbles
Experiencing camper siding bubbling can be frustrating, but it’s not an insurmountable problem. With patience and some elbow grease, you can restore your camper’s aesthetics and functionality.
Remember, if you’re not comfortable doing the repair yourself, there are professional camper repair services that specialize in these kinds of issues.
In the end, maintaining your camper is all part of the journey, and with the right care, your camper will continue to be a trusty vehicle for your travels for years to come.
Good luck, and happy camping!
Check out our article on: What Are RV Interior Walls Made Of?