
Broken pop-up camper got you down? Don’t worry, we’ve got you covered! In this comprehensive step-by-step guide, we’ll walk you through the process of safely raising and repairing your damaged camper. With just a bit of patience and a few basic tools, you’ll be back on the road in no time.
Step 1: Assessing the Damage
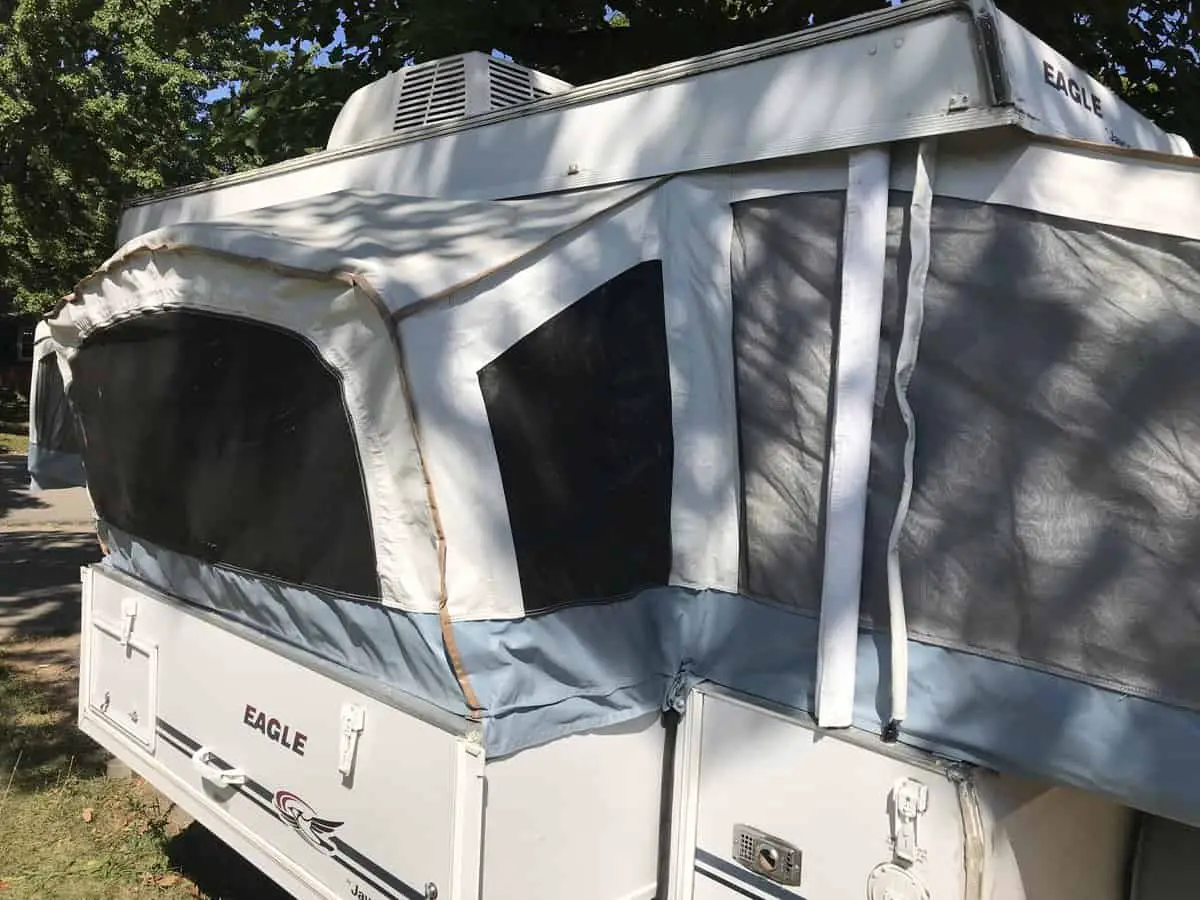
Before you can safely raise and repair your broken pop-up camper, it’s important to assess the damage. This will help you identify the necessary repairs and ensure you have the right tools and materials on hand.
- Inspect the exterior: Look for visible damage, such as dents, punctures, or torn canvas. Take note of any damaged areas for later repair.
- Check the lift system: Make sure the pop-up camper lift system is functional and undamaged. If it’s not working properly, you’ll need to repair or replace it before attempting to raise the camper.
- Inspect the interior: Open the camper door and look for any water damage, broken appliances, or damaged furniture. These issues will need to be addressed during the repair process.
Check out this helpful video on repairing the lift cables.
Step 2: Gathering Tools and Materials
Once you’ve assessed the damage, it’s time to gather the necessary tools and materials for the repair process. This may include:
- Basic tools: A set of screwdrivers, wrenches, pliers, and a socket set.
- Lift system tools: If you need to repair or replace the lift system, you’ll need a camper lift wrench and any necessary replacement parts.
- Repair materials: Depending on the damage, you might need canvas patch kits, sealant, wood or metal for frame repairs, or replacement parts for appliances and furniture.
Step 3: Raising the Pop-Up Camper
With your tools and materials in hand, you’re ready to safely raise your broken pop-up camper. Follow these steps:
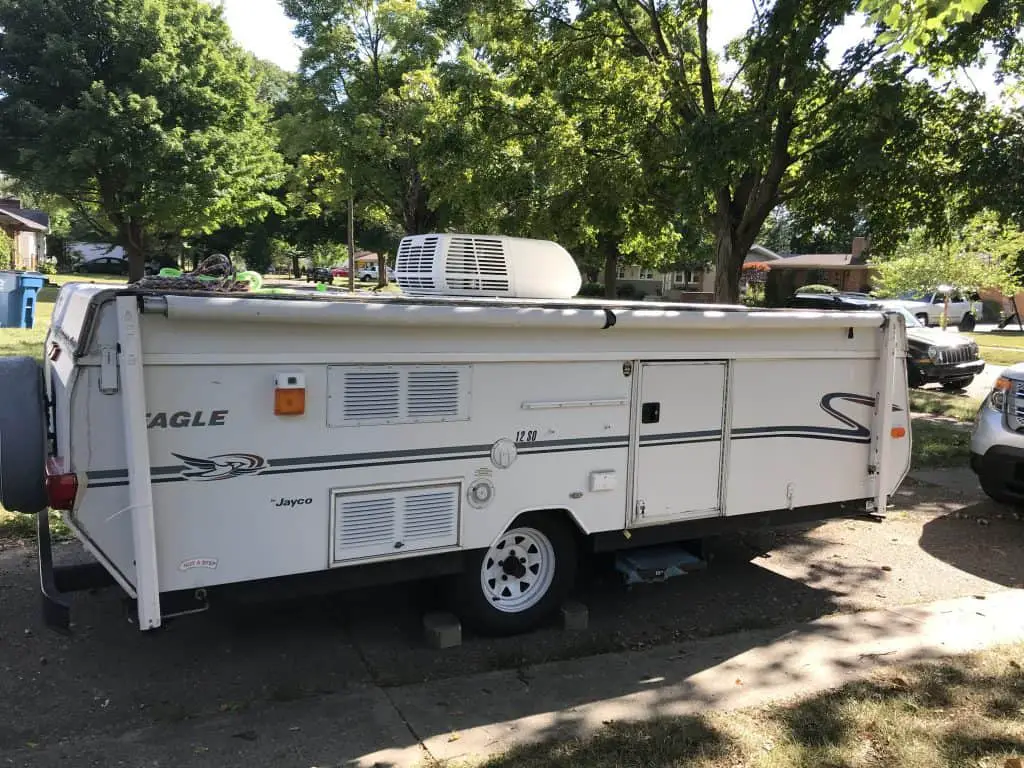
- Park on level ground: Ensure that your camper is parked on a level surface to prevent further damage or instability during the repair process.
- Stabilize the camper: Lower the stabilizer jacks on each corner of the camper, making sure they’re snug against the ground.
- Raise the roof: Using the camper lift wrench or the manual crank, carefully raise the camper roof to its full height. If the lift system is damaged, refer to the lift system repair guide before attempting to raise the roof.
- Secure the roof: Once the roof is raised, lock the support arms in place to ensure it stays secure during repairs.
Step 4: Repairing the Damage
Now that your camper is raised and secure, it’s time to tackle the necessary repairs. Remember to take your time and work methodically to ensure a thorough and safe repair process.
- Repair the exterior: Address any dents, punctures, or tears in the camper’s exterior. For canvas repairs, use a canvas patch kit and follow the manufacturer’s instructions. For frame repairs, use wood or metal as needed to reinforce or replace damaged sections.
- Fix the lift system: If you identified issues with the lift system during your damage assessment, follow the lift system repair guide to make the necessary repairs or replacements.
- Address interior damage: Repair or replace any damaged appliances, furniture, or fixtures inside the camper. For water damage, clean and dry affected areas thoroughly before making any repairs to prevent mold or mildew growth.
- Seal and weatherproof: Once all repairs are complete, apply a high-quality sealant to any seams or joints that may have been affected during the repair process. This will help protect your camper from future water damage and ensure it remains weatherproof.
Step 5: Lowering and Testing the Camper
With all repairs completed, it’s time to lower the pop-up camper and test your handiwork.
- Lower the roof: Unlock the support arms and carefully lower the camper roof using the lift wrench or manual crank. Keep an eye on the canvas and support arms to ensure they fold correctly and avoid any new damage.
- Retract stabilizer jacks: Raise the stabilizer jacks and secure them in their storage positions.
- Inspect your work: Take a final walk around the camper, checking for any missed repairs or new issues that may have arisen during the repair process.
- Test the camper: Set up the camper and test all appliances, fixtures, and systems to ensure they’re functioning correctly. This is also a good time to test the lift system to ensure it’s operating smoothly.
Congratulations! You’ve successfully raised and repaired your broken pop-up camper. Now you can hit the road with confidence, knowing your camper is safe and ready for your next adventure.
With this step-by-step guide, you can safely raise and repair your broken pop-up camper, ensuring it’s ready for many more memorable trips. Remember, regular maintenance and timely repairs are key to prolonging the life of your camper and keeping it in top condition.
Good luck, and happy camping!
Check out our article on:How Much Weight Can A Pop-up Camper Bed Hold?