
6 DIY Camper Pad Ideas For Home Storage
Your RV is right at home out in nature, cruising scenic backcountry routes and camping at beautiful destinations. But, how ‘homely’ does your camper look when it’s parked at your house? Stuck in the driveway, perhaps? Here are six easy DIY camper pad ideas for home storage.
A camper pad for home storage gives your RV a secure long-term parking solution to protect it from the elements. A well-built DIY camper pad will also give you a bespoke RV shelter that adds living space and value to your home.
The options available to you for DIY camper pads are multifold. You could opt for a hardwearing concrete slab with a steel roof or you may prefer a more organic look for your camper pad.
The three fundamental elements of a DIY camper pad are a level surface, good drainage, and a roof. Let’s look at six DIY camper pad ideas that won’t break your budget or your back, while you’re building your RV storage shelter:
- DIY Concrete Camper Pad
- DIY Gravel Camper Pad with Felled Tree Trunks
- DIY Gravel Camper Pad with Concrete Pavers
- DIY Camper Pad with Tree Trunks and Grass
- DIY Camper Pad using Lift Jacks and Bricks
- Hoop House Garage
Each option has its drawbacks and strengths but all of them are easy to build using basic gardening and woodworking tools. It makes sense to mark out a piece of relatively level ground within easy distance from your house to supply electricity and water to your RV.
Once you’ve identified, marked, and cleared a patch of earth to build your camper pad on, you can focus on choosing your preferred building method. Here goes…
1. DIY Concrete Camper Pad
Make a rectangular wooden frame using 2×6 lumber to match your desired camper pad size. Clear the ground of grass, weeds, and rocks. Place the wooden frame on the soil. Mark around the outside of the frame using spray paint.
Remove the frame and dig the earth base to half the desired depth of the slab. Replace the frame, which will now sit in the sunken earth foundation. Secure it in place using wooden pegs. Level the frame using a spirit level.
Pour gravel into the frame to cover its entire area. The gravel will act as a porous base for the concrete. Aim for a gravel base around two inches deep.
Mix the concrete in a wheelbarrow and pour a two-inch layer over the gravel. Then lay rebar into the gravel. Allow the rebar poles to settle into the concrete. Pour another layer of concrete into the frame. Smooth and level the concrete with trowels, leveling plank, and a spirit level.
Let the concrete dry and set within the frame for two days. When it is completely dry, remove the timber frame. Your concrete DIY camper pad is now ready to store your RV.
Here’s a short ‘how-to make a concrete slab’ video
Pros
- Rugged and durable
- Minimal maintenance
- A relatively low building cost
Cons
- Labor intensive
- Requires a degree of skill
- Can form puddles
2. DIY Gravel Camper Pad with Felled Tree Trunks
From a lumber supplier, source large diameter, long tree trunks. You may be able to source these for free if you know someone who is clearing a forested area.
Cut the tree trunks to the required length. Apply a coat of wood protector (polyurethane, oil, or gel), to the tree trunks.
Clear the ground of grass and rocks. Rake the soil to form a level base. Add soil if necessary.
Dig trenches to house the tree trunks. Allow 50% of the railway tie to remain above the surface of the ground. Lay the tree trunks in the trenches, forming a rectangle of the desired dimensions.
Cut rebar poles to lengths of around 18 inches. Hammer the rebar pegs into the ground on the outsides and insides of the tree trunks to secure them in place.
Lay down a weed barrier. Pour gravel over the weed barrier into the tree trunk rectangle. Use a tamper to level and compact the gravel.
Pros
- Easy to make
- Good drainage
- Rustic finish
Cons
- Gravel will sink and spread under the weight of the RV if not fully compacted
- Timber may rot over time
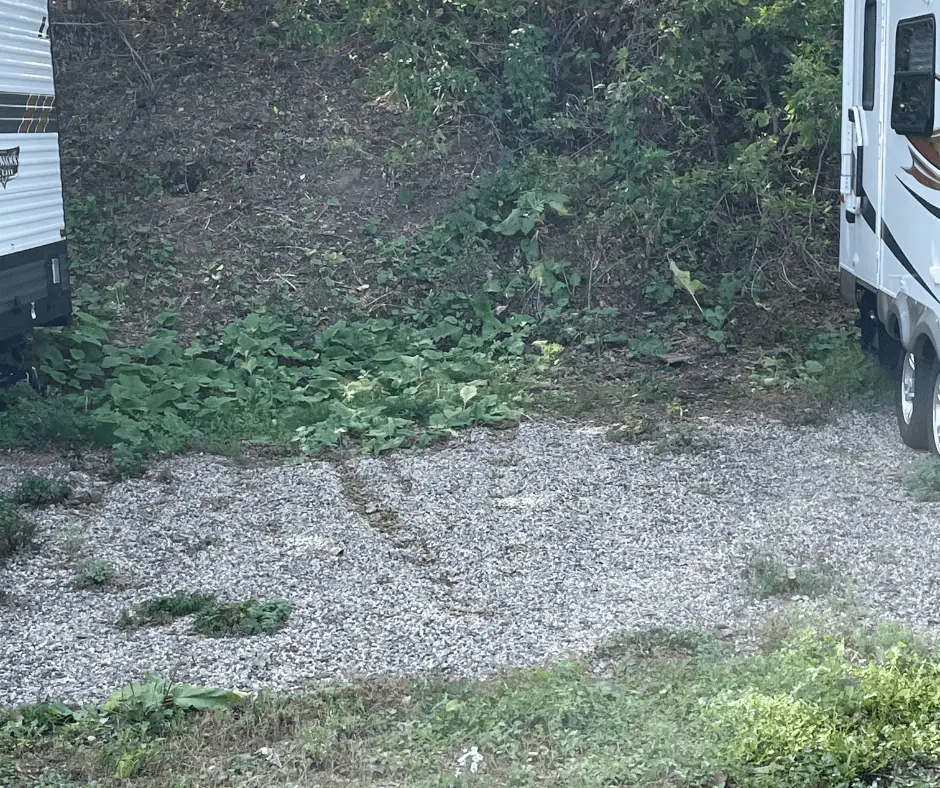
3. DIY Gravel Camper Pad with Concrete Pavers
Follow the same procedure as the DIY gravel pad but set concrete pavers into the gravel for walkways, outdoor seating areas, and under the wheels, tongue, and jacks of the RV.
If tree trunks of the required thickness aren’t available, you can use concrete lintels or railway ties (although these do come with a toxicity warning because of the creosote used to treat and weatherproof them).
Pros
- Cost-effective
- Easy to make
- Rustic appeal
Cons
- Availability of lumber
- Risk of wood rot
4. DIY Camper Pad with Tree Trunks, Pavers, and Grass
Anchor the tree trunks in their trenches using rebar pegs as in the previous two examples. Add soil to level the surface of the camper pad.
Arrange the concrete pavers as described in the previous example. Remove the pavers and compact the soil beneath them. Make a bed of gravel for each paver. Replace the pavers.
Bed grass sods and groundcover seeds in the camper pad soil. Water well.
Pros
- Easy to make
- Visual appeal
- Low cost
Cons
- Requires regular maintenance
- Not suitable for large RVs
5. DIY Camper Pad using Lift Jacks and Bricks
This DIY camper pad idea will allow you to level your RV easily, even if it’s parked on a slope.
Although your RV or camper is already equipped with leveling jacks, lift jacks give you extra leveling power under the axles of the RV and allow you to get the RV’s wheels off the ground, which spares the tires, and your pocket.
Lift jacks are available on Amazon.com for as little as $12. Auto spares outlets stock them too.
Lift jacks can be an addition to all the camper pad ideas mentioned above or, you can create a quick-build camper pad by simply placing the lift jacks on bricks or concrete pavers that are positioned on well-compacted soil.
Pros
- Easy to set up
- Cheap
- Portable
Cons
- Risk of bricks breaking under RV weight
- Can look somewhat makeshift
6. Hoop House Garage
Having some form of a roof on your camper pad to protect your RV from rain, snow and harsh sunlight will complete your home storage solution nicely. There are several options, the most obvious being a steel RV carport. There are cheaper and easier ways to build a funky cover for your camper pad.
One innovative way of roofing your RV is to use a greenhouse hoop-house design. By building a wooden base to secure a steel mesh hoop, you can create a superstructure that will effectively be a walled garage for your RV camper pad.
Pros
- Excellent RV weatherproofing
- Creates a versatile living space
Cons
- Adds to camper pad construction costs
- Requires a degree of woodworking skills
Conclusion
These six DIY camper pad ideas will give your RV a unique, freestanding storage facility and free up your driveway for regular traffic. Most importantly, they’ll help protect your home on wheels all year round.
With the right attention to detail, these camper pad ideas could pay for themselves by creating an alternative living space that can be listed on Airbnb and other accommodation portals. Imagine that!
Good luck, and happy camping!
Check out our article on: (9 Steps) How To Insulate A Travel Trailer For Winter Use