
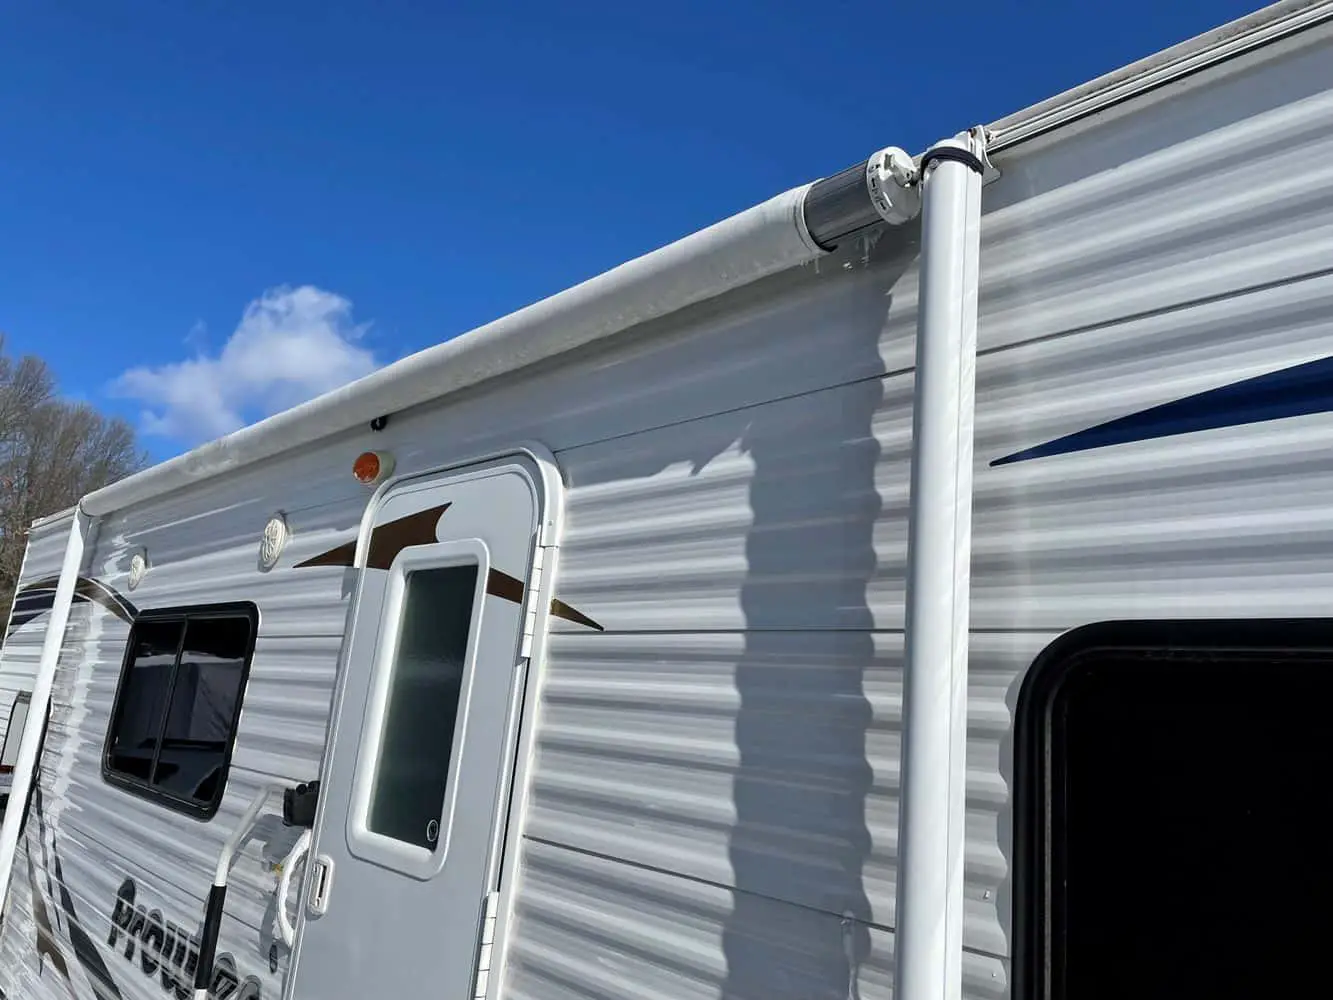
RV awnings a great addition to the useable living space, not only do they provide shade from the mid-day sun, but, with a few additions, they also can double up the sleeping accommodation, providing a fun outdoor tenting experience.
Successfully cleaning an RV awning involves following a few simple steps.
- Park the RV In the Shade
- Pull the Awning Out
- Select And Prepare The Cleaning Materials
- Remove Loose Contaminants
- Remove The Ingrained Contaminants
- Dry The Awning
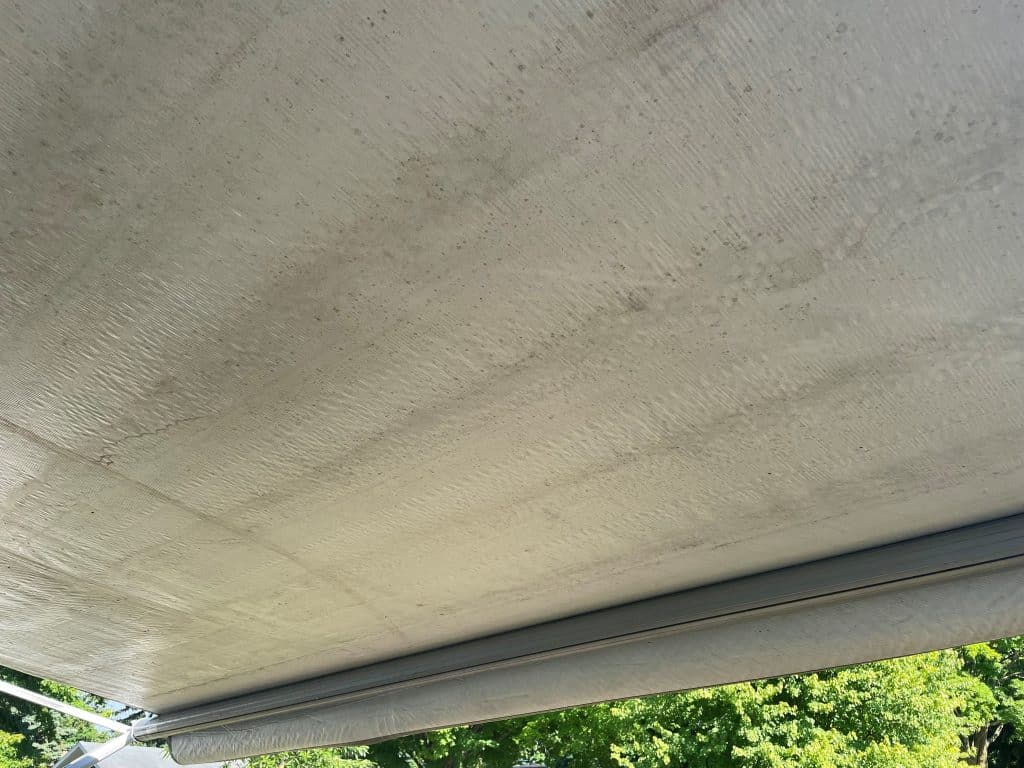
When you arrive at the RV site, set up camp and pull out the awning, it is disheartening to sometime see that dirt and mould have caused very noticeable stains in the material
. Remembering that when you finished your vacation last time it was pouring with rain, and you forgot to dry the awning when you got home. Now Black spots of mould, and mud streaks adorn the awning.
Cleaning And Awning Can Be Achieved As Follows
If you follow the next eight steps, you will be able to return the canvass to as near new condition as possible.
1. Park In The Shade To Start Cleaning The RV Awning
First check the weather and ensure that two consecutive sunny days are forecast.
If possible, find shady, level spot to position the RV and start the cleaning process.
Being out of the sun, enables you to thoroughly clean the RV, without the moisture evaporating and making more stains on the canvass. The best position I sone that is in shade in the morning, and in sun in the afternoon. This means, that by the time the cleaning process is done, the awning can dry in the sun.
You will need to erect a ladder so you can reach the top of the RV and doing so in a level piece of ground is very much safer.
2. Pull The Awning Out So You Can Clean It
To correctly open the awning, check the best procedure recommended in the instruction manual.
The steps required will normally be as follows.
Manual awnings are opened by undoing the travel latch or locks which keep the awning against the side of the RV.
If the awning is spring-loaded awning, loosen the rafter knobs on each side.
Move locking lever to the “roll down” position and hook the supplied awning rod into the strap loop. When it is attached walk backwards and pull the awning down. Give it a gentle tug if one of the sides gets stuck.
If the awning arms fold, pull the awning out until the arm is straight and the fabric is taught, tighten the rafter knobs.
Adjust the awning so it is a close to the vertical as possible.
3. Select And Prepare The RV Cleaning Materials You Need
Identify what the stains on the RV are caused by. Each type of stain needs to be treated differently, and you will need you to use different products or preparation to get the awning clean.
4. Remove Loose Contaminants To Clean The TV Awning
Before you wet the awning, take a long handled brush and remove any debris or dust which on the awning material. You may need to use a step ladder to reach the highest point (where the awning attached to the RV).
Once the loosened dirt has been brushed off, thoroughly spray the awning with a hosepipe until it is dripping wet.
5. Remove The Ingrained Contaminants
Always was the awning from top to bottom, so t the suds and excess water runs away.
Identify the different stains, and follow the next steps
Removing General Dust, Leaf Stains And Water Stains
Dirt that is general in nature, such as from leaves which fell on the awning while you were parked under a shade tree, or dust which turned to mud the last time it rained, can be removed using either a commercially available awning cleaner solution or a mixture comprising of 1/4 cup of dish washing liquid and 1/4 cup of bleach in 5 gallons of warm water.
Generously apply the solution to the whole awning, with heavier concentrations over the stained areas.
Furl the awning back up into its stored position and leave it there for 2 hours. This will allow the cleaning mixture to do its magic and soak into the stains and loosen the dirt.
Unroll the awning and re-erect it in the same position as before.
Fully rinse the awning with a hosepipe.
Removing Mould And Mildew From The Awning
Mould and mildew occur when the awning is stored whilst it is still wet. Being damp and installed in an enclosed space with minimal ventilation allows the spores and toxins travelling through the air and settle on the awning material.
Once settled they start to grow, and the ugly black stains are the result.
To clean these unsightly stains from the awning material, it is recommended that you use a mix of diluted bleach, vinegar, and baking soda. There are also very effective antimicrobial products which are available.
Once again, retract the awning into its enclosure and wait for an hour for the mic to work on the stains.
Respray stubborn stains, and use a stiff brush to scrub out the stains.
You may need to do more than one application to renew the material.
Removing Bird Dropping From The Awning
Bird poop requires more individual attention to clean off.
Firstly, wear a pair of latex gloves to avoid the danger of infection from bacteria that might be contained in the poop.
Carefully scrape or pick and peal off the offending material.
If the bird muck is fresh and still wet, use a damp cloth or paper towel to wipe it away. Once the dirt is removed wash the awning using the same steps as for general dirt.
When the marks have been removed, thoroughly rinse the material and away any suds or dirty water.
6. Dry The Awning
Before putting the awning away, it needs to be very dry.
Start by using a clean bush, to remove the excess water.
After the brush use a towel (if your spouse permits!) to dry the awning as well as possible.
Leave the RV and awning fully erected, in the sun until it is completely dry. This may mean that it must stay erected over more than one day (hence the need to makes sure the weather forecast provides two days of sun).
Hopefully, when dry you should be able to stand back and admire your cleaned awning.
Conclusion
Dirty awnings are unsightly and affect the whole outward appearance of the RV. Cleaning the awning is not hard but can take up a considerable time. However, it’s worth the effort and the improved appearance will be rewarding.
Good luck, and happy camping!
Check out our article on: 6 Best Vacuums For RV And Campers